
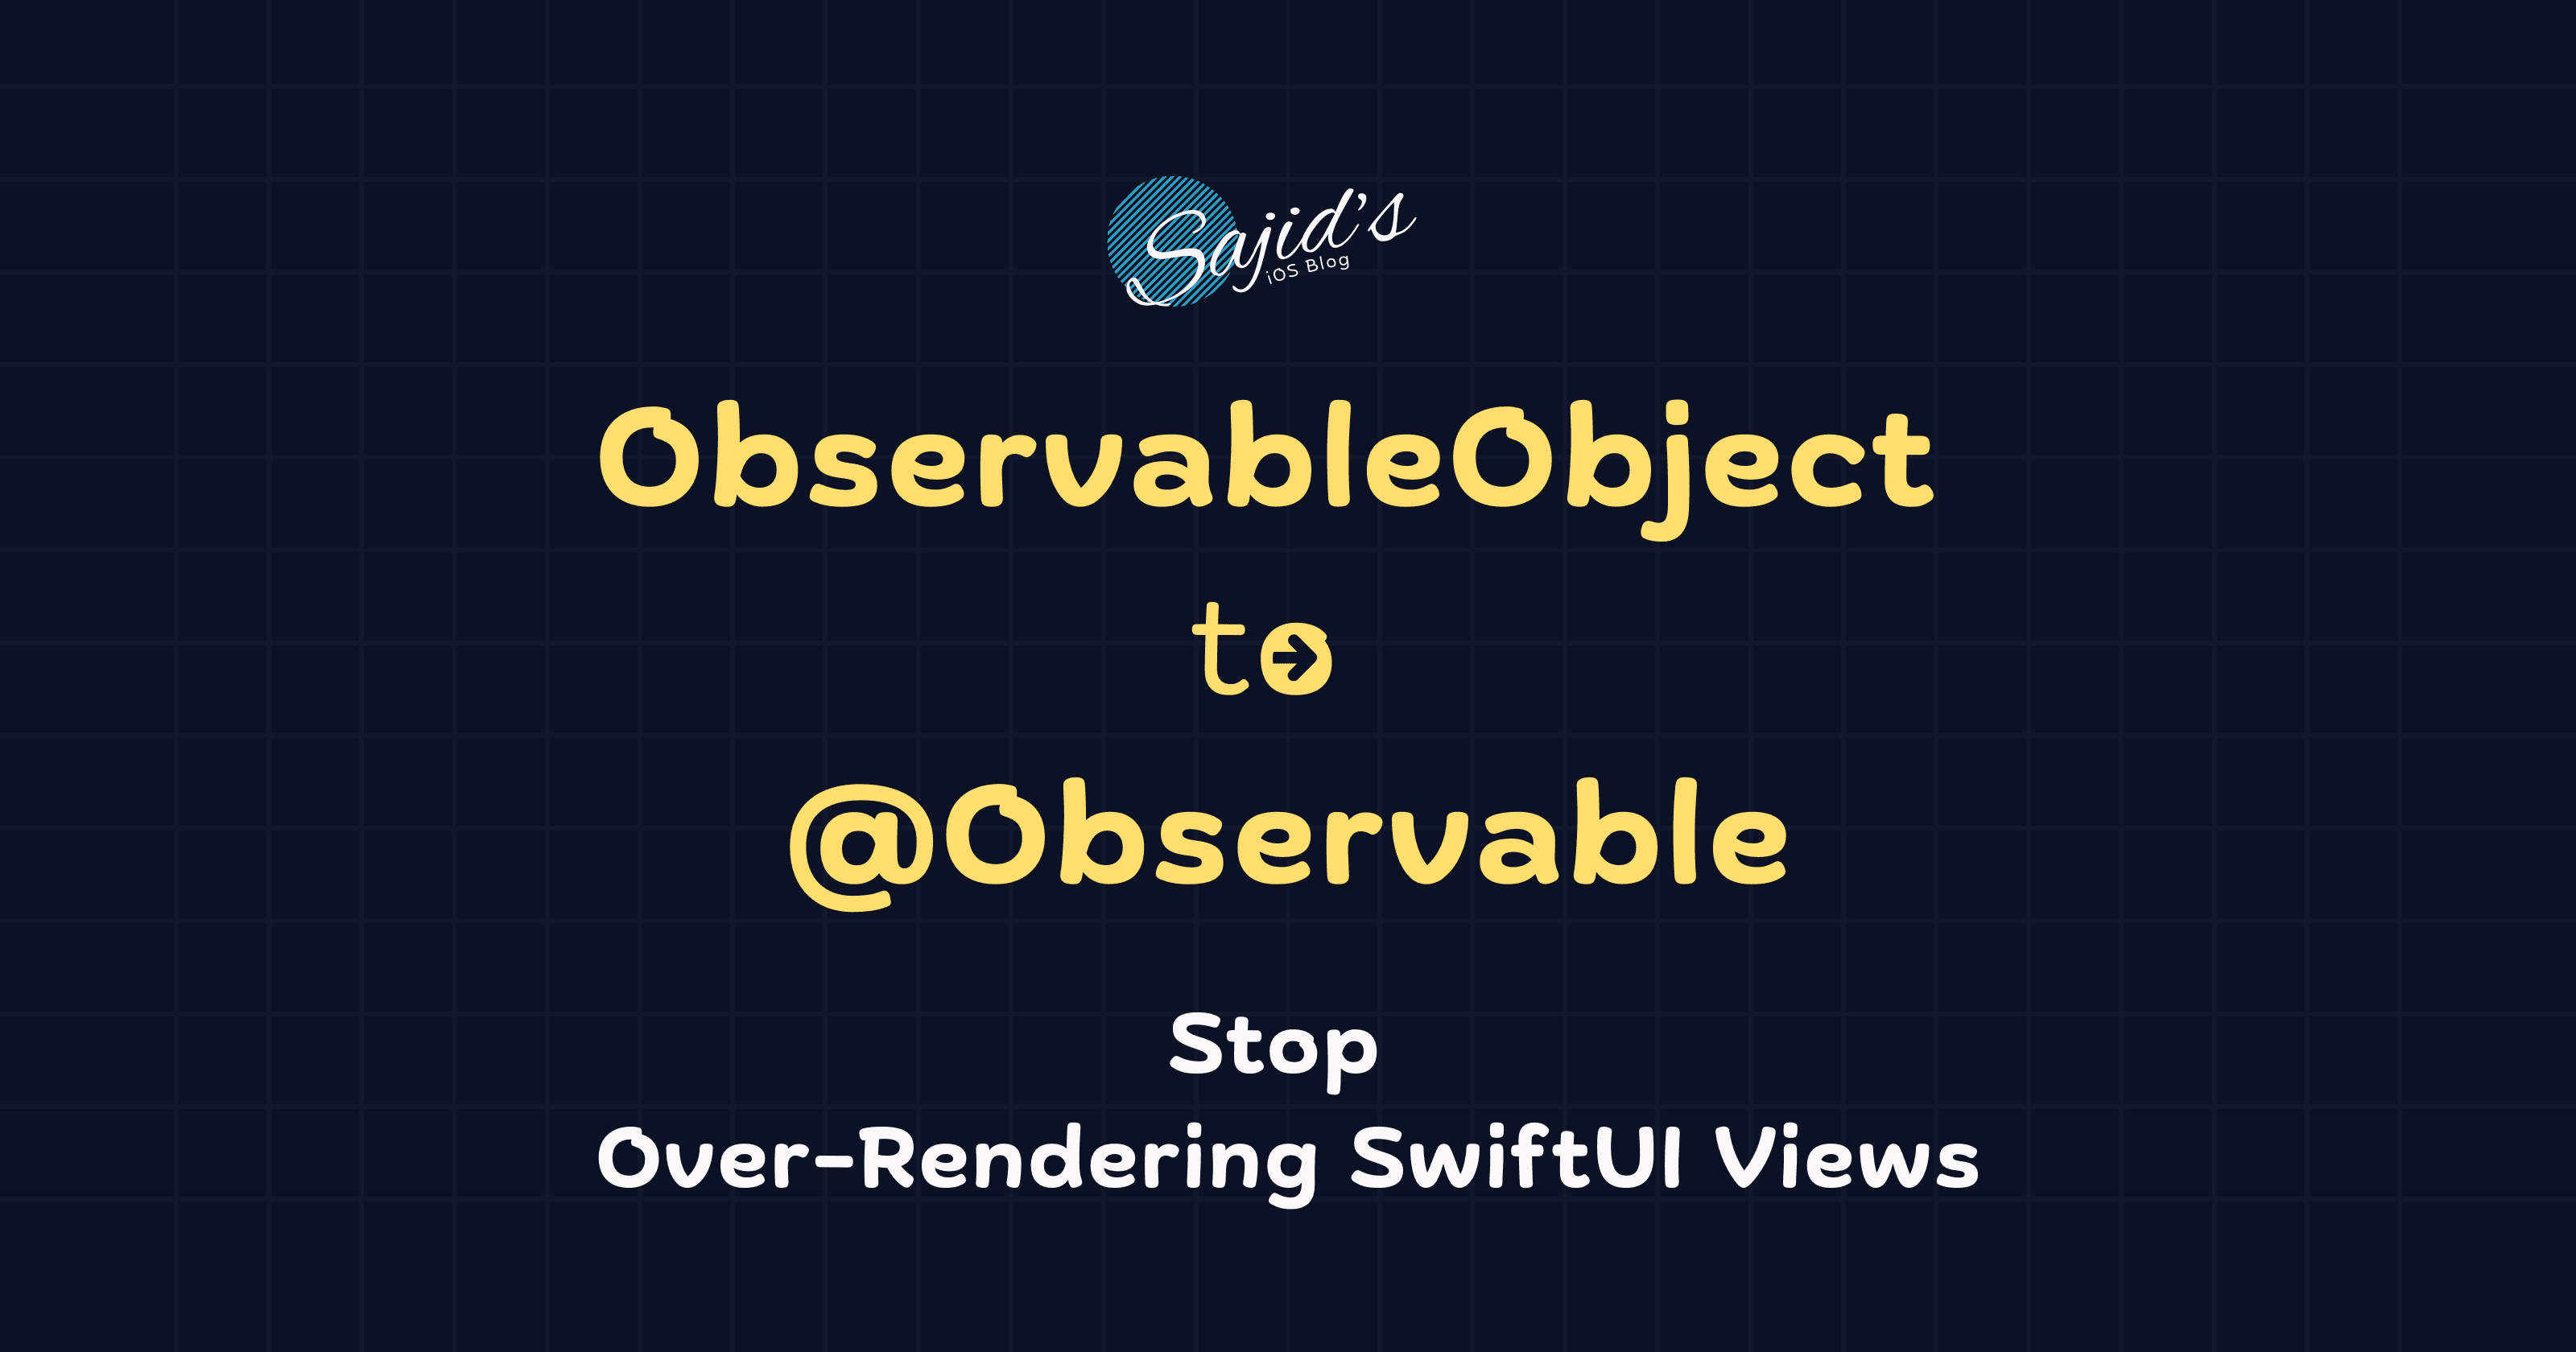
From ObservableObject to @Observable Macro: SwiftUI State Guide
How to upgrade your SwiftUI apps from ObservableObject to the @Observable macro. Reduce boilerplate and improve performance.
Have you ever looked at a SwiftUI view and wondered why it was refreshing when it should not have been? You are not alone. This often happens because the older observation system in SwiftUI is a blunt instrument. It notifies the view that something changed but it does not specify what. Understanding the new observation system can save you hours of debugging and make your apps feel significantly more responsive.
For years, ObservableObject and @Published were the standard way to connect your data models to your UI. With the release of iOS 17, Apple introduced the @Observable macro. This change simplifies how you write code while making your applications faster and cleaner.
The Old Way: ObservableObject
In the older system, you had to manually mark every property you wanted to track.
class ProfileViewModel: ObservableObject {
    @Published var name: String = ""
    @Published var age: Int = 25

    // Must mark every property manually
}

struct ProfileView: View {
    @StateObject var viewModel = ProfileViewModel()

    var body: some View {
        Text(viewModel.name)
    }
}
Drawbacks of this approach
You must remember to mark every single property with @Published
If you change the age property, the Text view for name still re-renders
Boilerplate code increases as your models grow in complexity
Managing @StateObject versus @ObservedObject can be confusing for beginners
The New Way: The @Observable Macro
The new system is smarter. It tracks which properties are actually being read by the view and only triggers a refresh when those specific values change.
@Observable
class Profile {
    var name: String = ""
    var age: Int = 25
}

struct ProfileView: View {
    @State var profile = Profile()

    var body: some View {
        VStack {
            Text(profile.name)
            TextField("Change name", text: $profile.name)
        }
    }
}
Benefits of @Observable
All properties are automatically observed without extra keywords
Views only re-render when a property they specifically use is modified
You can use the standard @State and @Bindable wrappers
It reduces memory overhead and improves app performance
Passing Data to Child Views: The @Bindable Wrapper
When you break your UI into smaller reusable components, you will inevitably need to pass your state down to a child view. In the legacy system, you would rely on @ObservedObject. With the new macro, the workflow changes slightly.
Here is exactly how you pass an observable object down the view hierarchy and create a two-way connection for editing.
@Observable
class UserSettings {
    var username: String = "Guest"
}

struct ParentView: View {
    // 1. Initialize the state in the parent
    @State var settings = UserSettings()

    var body: some View {
        VStack {
            Text("Welcome, \(settings.username)")

            // 2. Pass the object directly
            ChildEditView(settings: settings)
        }
    }
}

struct ChildEditView: View {
    // 3. Receive the object using @Bindable
    @Bindable var settings: UserSettings

    var body: some View {
        // 4. Use the $ syntax to create a two-way binding
        TextField("Edit Username", text: $settings.username)
            .textFieldStyle(.roundedBorder)
    }
}
How it works
Notice that ParentView creates the object using the @State wrapper. When it passes settings to ChildEditView, it simply passes the object instance directly.
Inside ChildEditView, we receive that object using the @Bindable property wrapper. This step is critical. The @Bindable wrapper does one specific job: it unlocks the ability to use the $ prefix. Without @Bindable, you could read the properties just fine, but you could not pass them to UI controls like a TextField or Toggle that require a two-way binding to modify the data.
ObservableObject vs. @Observable
Feature | ObservableObject | @Observable |
Minimum iOS | iOS 13 | iOS 17 |
Property Marking | Manual @Published | Automatic |
Observation Level | Entire Object | Individual Property |
View Refresh | Less Efficient | Highly Optimized |
Property Wrapper | @StateObject | @State |
Child Wrapper | @ObservedObject | @Bindable |
Why Developers Still Use the Old System
Even though the new macro is superior, you will still see ObservableObject in many projects for a few key reasons. The most obvious is compatibility, since many apps still need to support iOS 15 or 16. Additionally, large legacy projects built on the Combine framework may require significant refactoring to switch.
A common strategy today is to keep your existing models as they are while using the @Observable macro for any new features you build. This allows for a gradual migration without breaking your entire codebase.
Switching to @Observable makes your SwiftUI apps cleaner and more predictable. It represents the modern approach to state management by removing the need for manually published properties and providing surgical precision for UI updates.